
If you have ever tried eating raw cannabis flower and wondered why nothing happened, the answer is decarboxylation, or rather, the lack of it. This decarboxylation guide for edibles explains what the process is, why it is essential, and exactly how to do it at home so your homemade edibles actually work.
What Is Decarboxylation and Why Your Edibles Need It
Raw cannabis does not contain much THC. Instead, it contains THCA (tetrahydrocannabinolic acid), a non-psychoactive precursor. When you smoke or vape cannabis, the heat instantly converts THCA into THC. But when you are making edibles, you need to perform this conversion yourself before infusing the cannabis into butter, oil, or anything else.
Decarboxylation is the chemical process of removing a carboxyl group from a cannabinoid using heat. In practical terms, it means baking your cannabis at a low temperature for a specific amount of time. Without this step, your edibles will have minimal psychoactive effect no matter how much flower you use.
The same principle applies to CBD. Raw cannabis contains CBDA, which must be decarboxylated to become active CBD. If you are making CBD-infused products, decarboxylation is equally important.
Step-by-Step Decarboxylation Guide for Edibles
What you need:
- Cannabis flower (any amount)
- A baking sheet
- Parchment paper
- An oven
- An oven thermometer (recommended for accuracy)
Step 1 — Preheat your oven to 110 degrees Celsius (230 degrees Fahrenheit). Temperature accuracy is critical. Too hot and you will burn off terpenes and degrade cannabinoids. Too low and the conversion will be incomplete. An oven thermometer helps because most ovens run slightly hotter or cooler than the dial indicates.
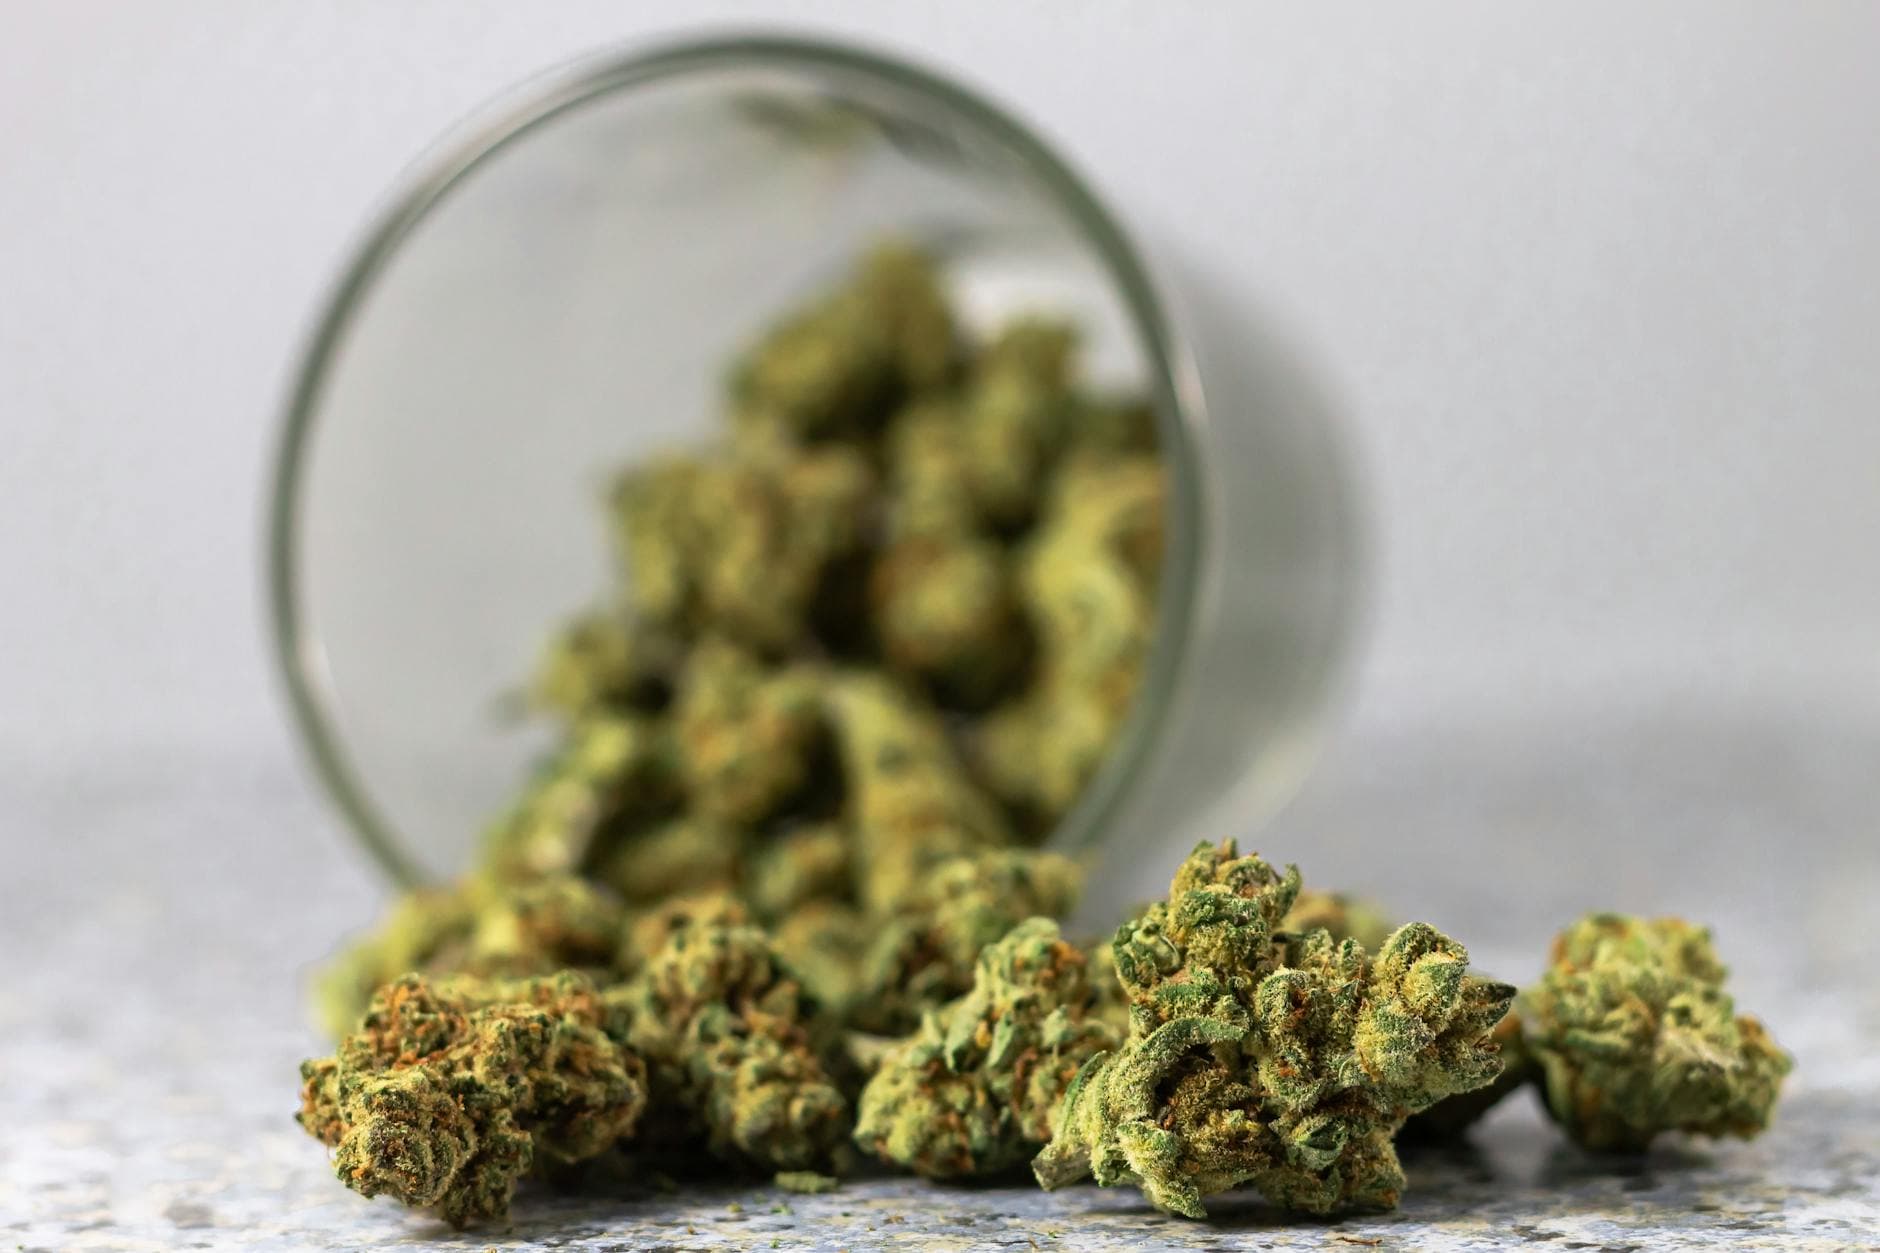
Step 2 — Break up your cannabis. Break the flower into small, roughly pea-sized pieces. You do not need to grind it finely, as a coarse break-up ensures even heat distribution without creating powder that is difficult to strain later.
Step 3 — Spread evenly on the baking sheet. Line the sheet with parchment paper and spread the cannabis in a single layer. Avoid stacking or clumping.
Step 4 — Bake for 30-40 minutes. Check at the 30-minute mark. The cannabis should look lightly golden and dry, and your kitchen will smell distinctly like cannabis. Shake the tray gently halfway through for even heating.
Step 5 — Cool completely. Remove from the oven and let it cool to room temperature. The decarboxylated cannabis should crumble easily when handled.
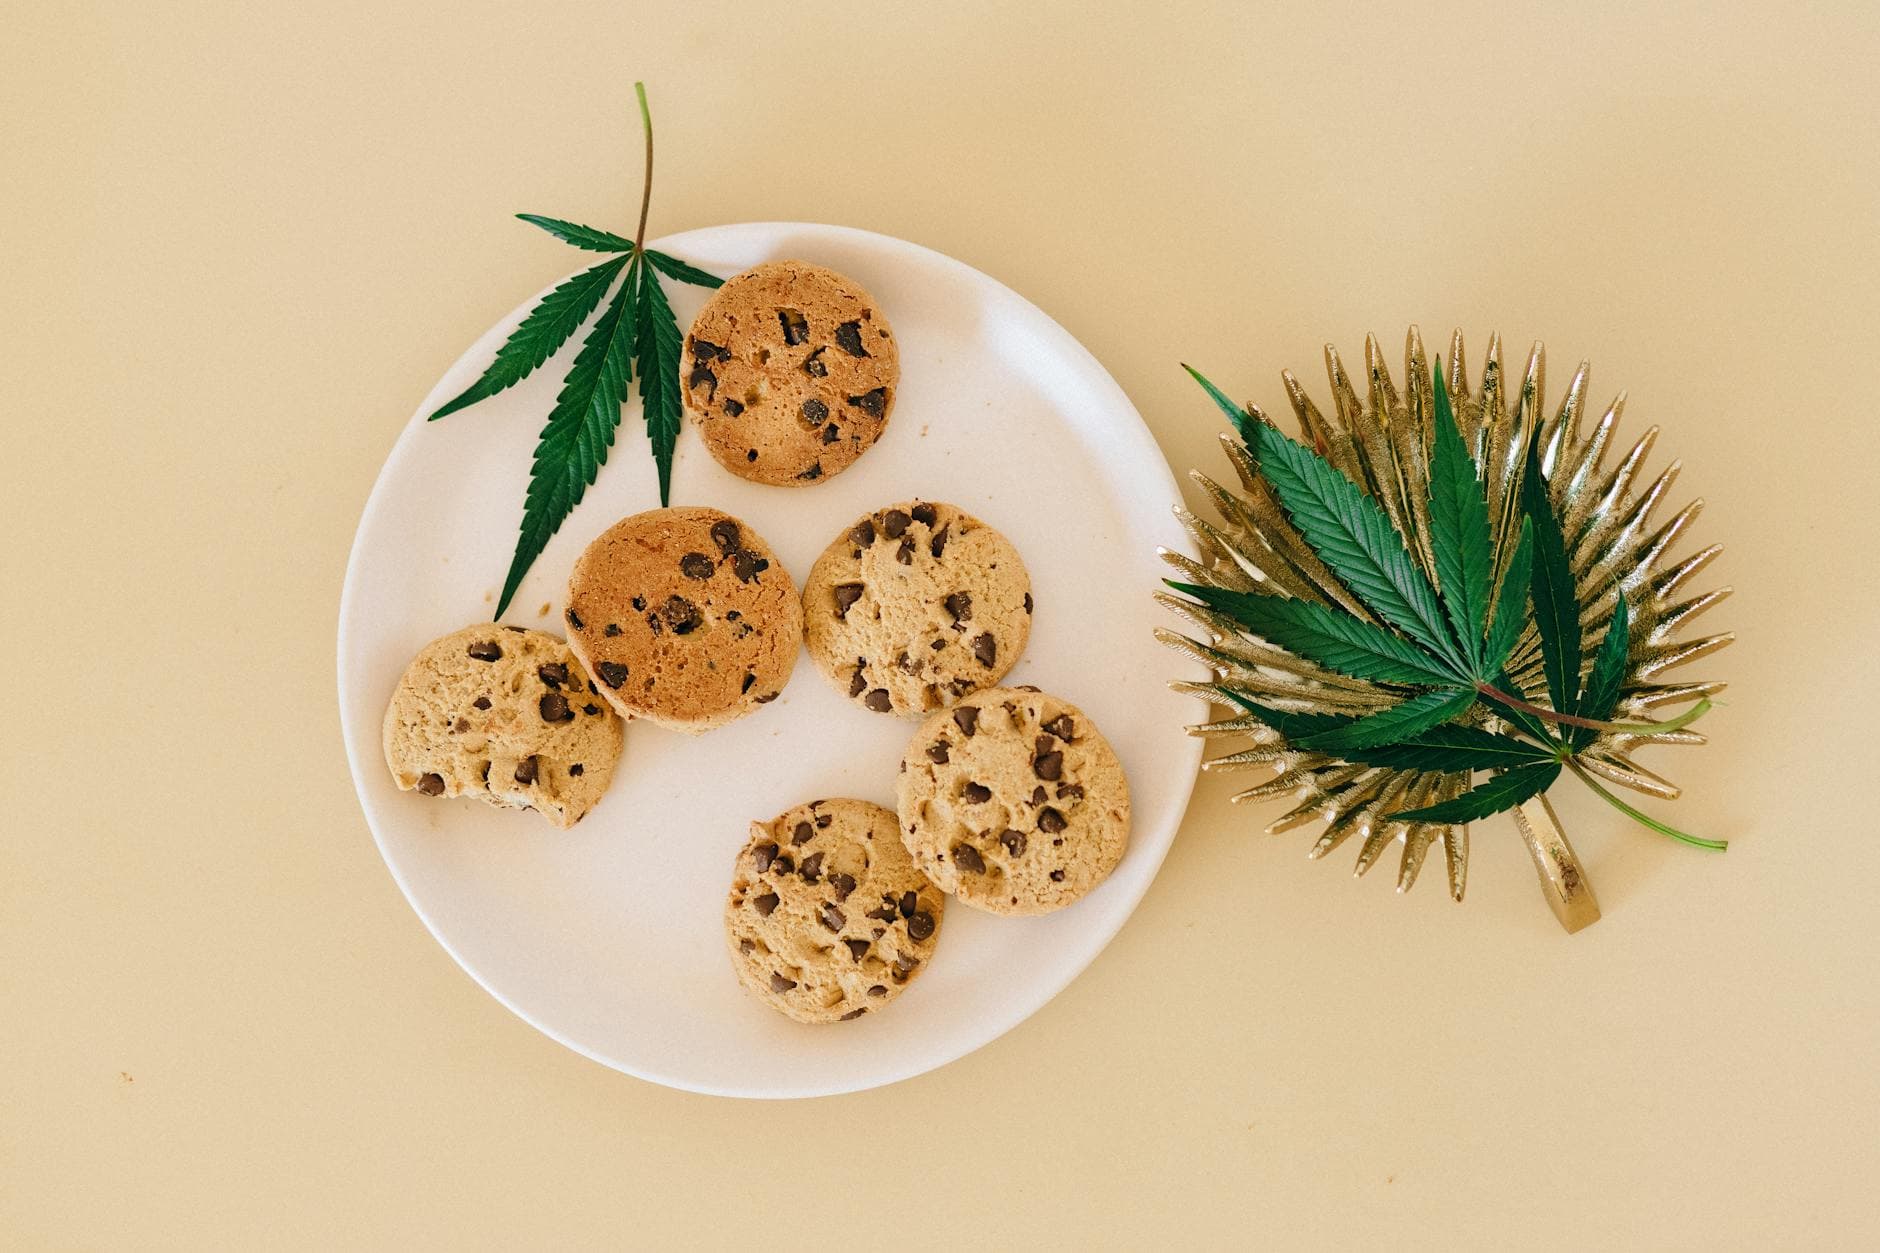
Your cannabis is now activated and ready to be infused into butter, coconut oil, olive oil, or used directly in recipes. For a deeper understanding of how different cannabinoids interact in edibles, check out our article on the entourage effect.
Tips for Better Results
Do not skip this step. It is tempting to throw raw flower directly into brownie batter, but your edibles will be weak and inconsistent without proper decarboxylation.
Use a mason jar method for less smell. Place your broken-up cannabis in a mason jar, seal it loosely, and bake at the same temperature. This contains most of the smell and can be easier to handle.
Save your decarbed flower. If you do not want to make an infusion right away, store decarboxylated cannabis in an airtight glass jar in a cool, dark place. It will keep for several months.
Start with a known quantity. If your flower is 20% THC, one gram contains roughly 200mg of THC. After decarboxylation, you can calculate approximate dosing for your recipes.
Get Quality Flower for Your Edibles
At Creator's Choice, we carry flower at every price point, from budget ounces perfect for bulk edible-making to premium strains for special batches. Browse our selection and start your next edible project with quality cannabis.